

Key Takeaways
Why Draught-Proofing Belongs at the Top of Your Maintenance List
Uncontrolled air infiltration — the unsealed gaps that let cold outdoor air in and conditioned indoor air out — is consistently identified by building science professionals as one of the leading causes of comfort problems and elevated energy costs in existing homes. Unlike adding insulation to a wall cavity, which requires significant disruption, sealing the gaps around windows and doors is something most homeowners can do in a single afternoon with basic tools.
The impact is tangible. A home with well-sealed windows, doors, and penetrations loses heat far more slowly, meaning your heating system runs less frequently to maintain the same temperature. That translates to reduced fuel use and more consistent room temperatures — the kind of improvement that becomes obvious within the first cold snap after the work is done.
Draught-proofing also fits naturally into a broader seasonal rhythm. As outlined in our seasonal home maintenance calendar, autumn is the ideal time to address heat loss before temperatures drop. It also pairs well with the winterisation tasks covered in our guide to preparing your home for winter.
Don't Seal Out Ventilation Entirely
Draught-proofing should target uncontrolled air infiltration — not intentional ventilation. Never block trickle vents built into window frames, extractor fan openings, or air bricks that serve underfloor ventilation. Sealing these can lead to condensation, mold, and poor indoor air quality. If you are unsure about the ventilation balance in your home, consult a building professional.
The tasks below apply to standard residential windows and exterior doors. If your windows are part of a historically significant structure or you have specialist glazing systems, check with a professional before disturbing existing seals.
Where Gaps Hide and What They Cost You
Most draught problems cluster around a handful of predictable locations. On exterior doors, the bottom edge and the meeting point of the door and frame are almost always the first to fail — the door sweep takes repeated floor contact, and compression strips fatigue with use. On double-hung windows, the joint between the upper and lower sash is a chronic weak point, as is the gap where the window frame meets the interior trim.
Older homes tend to have additional infiltration paths that newer builds do not: gaps behind baseboards, around pipe penetrations, and through original single-pane windows with shrunken glazing putty. If your home was built before the 1980s, it is worth checking these areas as part of any room-by-room inspection as well.
Gas Appliances Require Professional Assessment
If your home contains gas boilers, water heaters, or open-flued appliances, do not draught-proof the room they occupy without first consulting a licensed HVAC technician or gas engineer. These appliances need a supply of combustion air, and sealing a room too tightly can create dangerous conditions including carbon monoxide risk.
Persistent damp near window frames can complicate sealing work — if you suspect moisture ingress rather than just air movement, read our guidance on damp in older homes before proceeding. Sealing over active damp can make the underlying problem significantly worse.
Caulk gun with silicone caulk
Seals fixed gaps around window frames and door surrounds where no movement occurs.
Self-adhesive weatherstripping (foam or rubber)
Compresses against the door or window sash to block moving-edge gaps when closed.
Door sweep or threshold strip
Seals the gap between the bottom of a door and the floor or threshold.
Utility knife
Trims weatherstripping and caulk to a clean finish.
Incense stick or thin tissue paper
Reveals air movement to locate hidden draughts accurately.
Wire brush or putty knife
Removes old, crumbling caulk or dried compound before new material is applied.
How to Seal Your Windows and Doors: Step-by-Step
The process below covers the full sequence from locating gaps to finishing the job. Work through each step in order — skipping the detection phase in particular tends to result in missed gaps and materials applied in the wrong places.
What you will need
Locate every draught source
On a cold, windy day, close all windows and doors and walk slowly around each one holding a lit incense stick or a thin strip of tissue paper. Watch for movement — smoke bending or tissue fluttering indicates airflow. Mark each draught point with painter's tape. Common locations include the gap at the bottom of exterior doors, the meeting rail between upper and lower sash windows, and the joint between the window frame and the surrounding wall trim.
Remove old or damaged seals
Before applying anything new, strip out any existing weatherstripping or caulk that has hardened, cracked, or pulled away from the surface. Use a flathead screwdriver or putty knife to lift old foam strips cleanly, then peel away adhesive residue with your fingers or a plastic scraper. For old caulk around window frames, score it with a utility knife and pull it free. Clean the surface with a damp cloth and allow it to dry fully — new materials won't bond well to damp or dusty surfaces.
Seal fixed gaps around frames with caulk
For gaps between the window or door frame and the surrounding wall — places that do not move when you open or close the unit — silicone or paintable acrylic caulk is the right tool. Load your caulk gun, cut the nozzle at a 45-degree angle to match the gap width, and draw a steady, continuous bead along the joint. Use a moistened fingertip or a caulk-smoothing tool to press the bead into the gap and create a flush seal. Wipe away excess immediately. Allow full cure time (check the product label) before painting over acrylic types.
Apply weatherstripping to moving edges
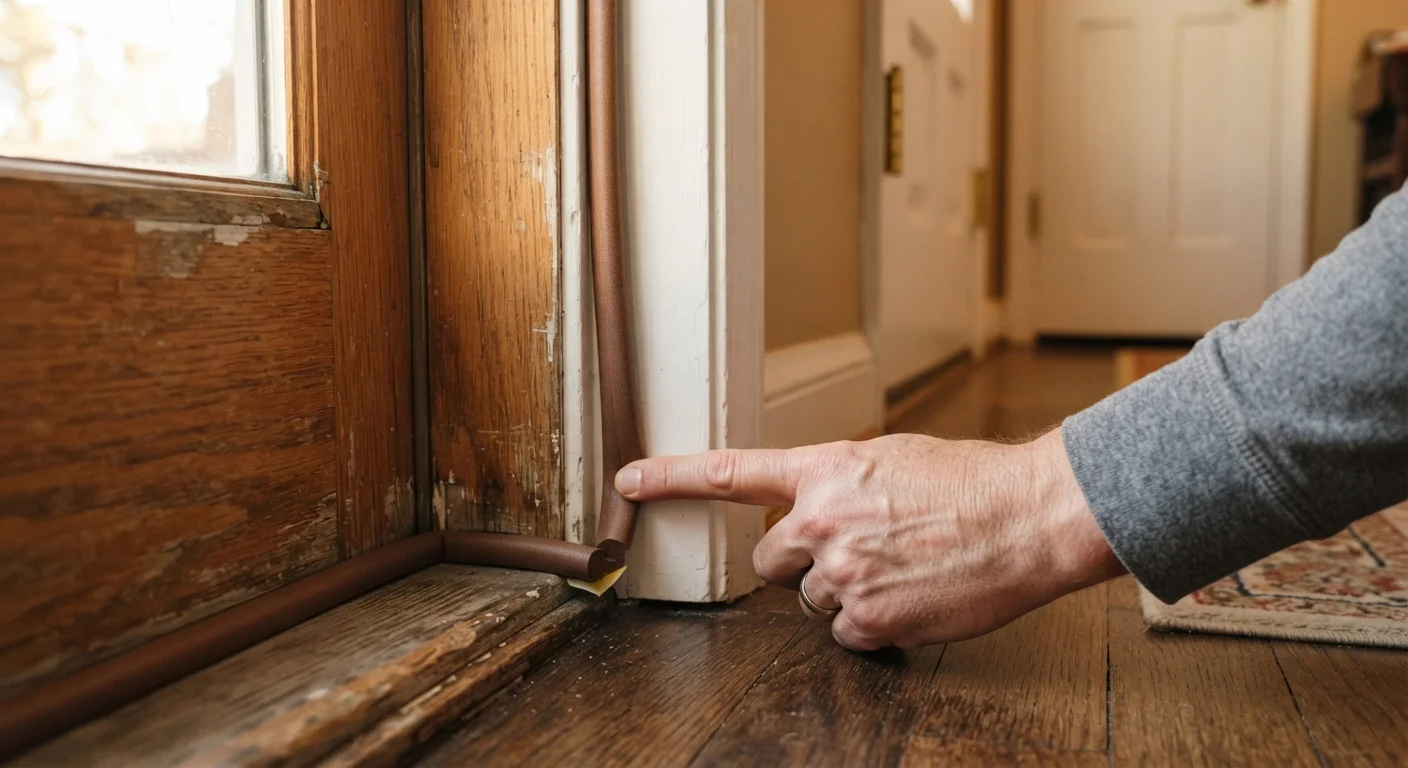
For the edges of doors and windows that contact the frame when closed — places where caulk would simply crack open — self-adhesive compression strips are the right solution. Measure each side of the door stop or window rebate carefully and cut strips to length before peeling the backing. Press the strip firmly against the clean, dry surface inside the door stop, so that when the door or window closes, it compresses the seal evenly. Test the fit by closing the door: there should be gentle resistance, not a hard slam.
Fit a door sweep or threshold strip
The gap beneath an exterior door is one of the largest single draught sources in most homes. Measure the door width and cut a door sweep to length with a hacksaw or tin snips. Most sweeps attach to the interior face of the door with screws — position it so the brush or rubber fin just touches the floor or threshold when the door is closed without dragging heavily when opening. For doors with an existing threshold, a compression threshold strip that the door closes onto may be a tidier solution. Check alignment after fitting by running the draught-detection test again.
Recheck and finish
Once all seals are in place and caulk has cured, repeat the draught test from Step 1. Walk each window and door again with your incense stick or tissue. Any remaining movement indicates a gap you missed or a strip that did not make full contact. Make small adjustments — adding a second layer of foam tape or repositioning a sweep — before the weather turns. Finally, open and close each door and window several times to confirm smooth operation; seals should compress without binding or preventing the latch from engaging fully.
Think Beyond Doors and Windows
Letterboxes, pet flaps, and keyhole covers are frequently overlooked draught points. Brush-style letterbox inserts and keyhole covers are inexpensive and take only minutes to fit. If your home has an unused fireplace, a chimney balloon can also eliminate significant heat loss through the flue.
For a broader view of how draught-proofing fits into ongoing upkeep, our guide to sustainable maintenance habits offers practical strategies for busy homeowners who want to stay ahead of deterioration without dedicating every weekend to the house.