

Key Takeaways
Why Mulching Is Worth the Effort
A well-mulched garden bed does quiet, continuous work: it slows moisture evaporation so you water less, moderates soil temperature through summer heat and winter cold, suppresses weed germination, and — as it breaks down — feeds the microbial life that keeps soil healthy. It's one of the highest-return tasks in routine garden maintenance.
The catch is that mulching done poorly can cause real problems. Applying too much, piling it against plant stems, or choosing the wrong material for the application are common errors that can stress the very plants you're trying to protect.
Match Your Mulch to the Job
Shredded wood or bark works well in ornamental beds and around trees. Straw or grass clippings suit vegetable gardens where you'll be turning soil seasonally. Pine needles are a good fit for acid-loving plants like blueberries and azaleas. Choosing the right material for each area makes maintenance easier over time.
For gardeners thinking about how mulching fits into a broader soil-improvement approach, composting at home is a natural complement — finished compost makes an excellent mulch layer in vegetable beds.
What you will need
What You'll Need
Garden Rake
Used to spread and level mulch evenly across planting beds.
Wheelbarrow
Transports bulk mulch from delivery pile or bags to garden beds efficiently.
Garden Hoe or Hand Weeder
Removes existing weeds from beds before mulch is applied.
Edging Spade
Creates a clean edge around beds to keep mulch contained and borders tidy.
Measuring Tape or Depth Gauge
Helps verify mulch depth is within the recommended 2–4 inch range.
How to Apply Mulch Correctly
Clear and prepare the bed
Remove all visible weeds by hand or with a hoe, getting as much of the root as possible. Mulch suppresses new weed growth but will not kill established weeds already in place. Lightly loosen compacted soil with a cultivator if the surface has crusted over — this helps moisture penetrate before you cover the bed.
Edge the bed for a clean boundary
Use an edging spade or half-moon edger to cut a defined border around the bed. A shallow trench roughly 2–3 inches deep at the edge creates a physical barrier that keeps mulch from spilling onto lawn or pathway areas. This step is optional but significantly reduces ongoing tidying.
Apply a consistent 2–4 inch layer
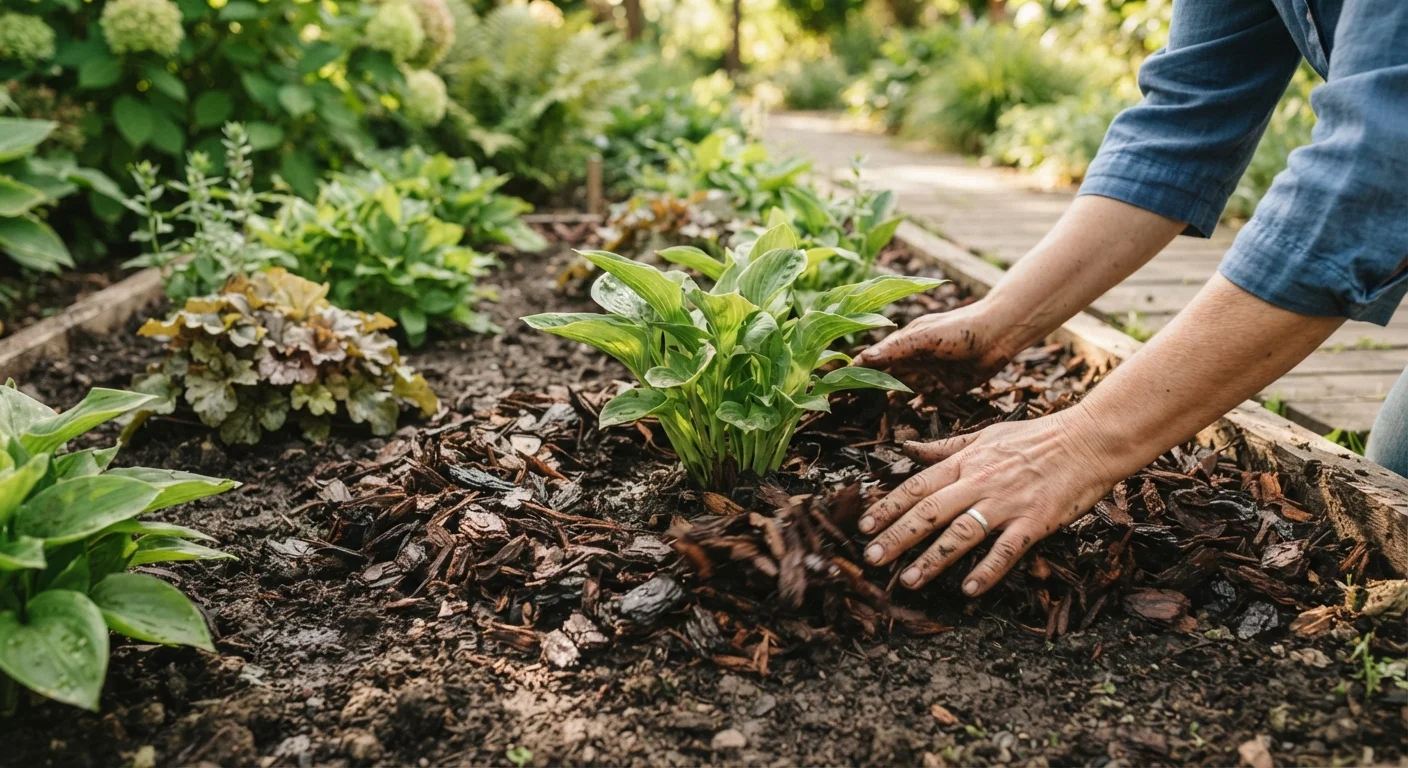
Dump mulch into the bed in small piles, then spread with a rake to an even depth of 2–4 inches across the whole area. Use the lower end of that range (around 2 inches) for fine or compacted soils, and closer to 3–4 inches for larger ornamental beds or areas with persistent weed pressure.
Going deeper than 4 inches can reduce oxygen and water reaching roots, and may create conditions that encourage fungal growth in humid climates.
Keep mulch clear of stems and trunks
Pull mulch back so there is a clear ring of bare soil 3–4 inches wide around each plant stem, shrub base, and tree trunk. This prevents moisture from sitting against bark and reduces the risk of crown rot and pest harborage at soil level.
Water the mulched area thoroughly
After spreading, water the bed well. This helps settle the mulch, reduces the chance of it blowing around in the first few days, and ensures the soil beneath — not just the mulch surface — gets adequately moistened. Dry mulch can actually wick moisture away from soil if the layer is too thick or too dry at application.
Good watering practice is just as important as good mulching. Our guide to common watering mistakes covers how to avoid habits that undermine your soil moisture work.
Top up and maintain annually
Organic mulches decompose — that's a feature, not a flaw. Decomposed mulch feeds soil biology and gradually improves structure. Plan to top up your beds once a year, checking depth in spring or fall and adding just enough to restore the 2–4 inch target. You don't always need to remove old mulch first; simply rake and refresh.
Never Pile Mulch Against Tree Trunks
Mulch mounded directly against a trunk — often called 'volcano mulching' — traps moisture against the bark, encouraging rot, fungal disease, and insect damage. Always leave a clear gap of at least 3–4 inches between the mulch layer and any woody stem or trunk. This single step protects trees and shrubs from years of slow, hidden damage.
Timing and Material Choices
Spring and fall are the most practical times to mulch. In spring, apply after soil has warmed slightly — mulching too early traps cold and delays planting. In fall, mulch after the first frost to insulate roots over winter. That said, mulch can be applied at almost any time of year when the ground isn't frozen.
For ornamental beds, shredded bark or wood chip mulch is durable and widely available. Vegetable gardens often benefit from straw, which is easy to move seasonally and breaks down quickly. Leaf mold — shredded, composted autumn leaves — is an excellent low-cost option if you generate leaves on your property.
Avoid Fresh Wood Chips on Young Plantings
Freshly chipped wood can temporarily tie up nitrogen in the soil as it begins to decompose, which may stress seedlings or newly transplanted annuals. Use aged or composted wood chips in active planting beds, or keep fresh chips reserved for pathways and around established trees and shrubs.
If you're deciding between garden setups, the choice of mulch can also depend on your bed style. Raised beds and in-ground gardens each have slightly different mulching needs based on how quickly they drain and warm.