

Key Takeaways
Why Sequence Is the Foundation of a Successful Bathroom Renovation
Most bathroom renovation mistakes aren't about choosing the wrong tile or fixture — they're about doing the right thing at the wrong time. When tasks happen out of order, you end up opening finished walls to access pipes, retiling floors that shift because the subfloor wasn't addressed first, or painting surfaces that later need to come down for electrical work.
The correct sequence exists for a practical reason: each stage creates the conditions for the next. Structural work supports everything above it. Rough-in trades (plumbing and electrics) need open wall cavities. Waterproofing must cure before tiles go down. Finishing surfaces need to be complete before fixtures are fitted. Understanding this chain makes it easier to manage tradespeople, set realistic timelines, and avoid the kind of backtracking that drives renovation costs higher than planned — a pattern explored in detail in our guide to why renovation costs almost always run over.
What you will need
The Correct Order of Work, Step by Step
Follow this sequence as a framework. The specifics of your project may vary — particularly if you're doing a partial refresh rather than a full strip-out — but the underlying logic applies broadly.
Strip Out the Existing Bathroom
Remove all existing fixtures — toilet, bath, vanity, shower enclosure — and strip back wall tiles, flooring, and any plasterboard or render that's damaged or needs to be repositioned. This exposes the substrate and lets you assess the condition of what's underneath before any new work begins.
Address Structural and Subfloor Issues
Inspect joists, subfloor panels, and load-bearing walls for rot, damage, or inadequate support. A bathroom adds significant weight — especially if you're installing a cast iron bath or large format tiles — and the floor structure must be sound before any finishing work begins. Repair or reinforce at this stage.
Rough-In Plumbing
With walls open, your plumber installs or repositions supply pipes, waste pipes, and drain connections to match your new layout. This is the time to move a toilet, relocate a shower drain, or add an additional supply line. All pipe runs should be pressure-tested before walls are closed.
Rough-In Electrics
Your electrician runs cables for lighting, ventilation fans, heated towel rails, underfloor heating, and shaver outlets. Conduit and back boxes are positioned before plastering. Bathroom electrical work is subject to strict zone-based regulations in the US and most regions — licensed electrical work is typically required and permits are commonly needed.
Board, Plaster, and Prepare Walls
Install moisture-resistant plasterboard (cement board or greenboard) in wet areas, then skim or plaster walls to a smooth, even finish. Allow full drying time before proceeding — rushing this stage causes surface issues with paint and tile adhesion. Check for plumb and level across all surfaces.
Apply Waterproofing Membrane
In wet zones — the shower enclosure, bath surround, and any floor areas that will be tiled — apply a tanking membrane or wet-area waterproofing system over the substrate. Follow the manufacturer's instructions for number of coats and cure time precisely. This step is non-negotiable; skipping or rushing it is a leading cause of long-term water damage.
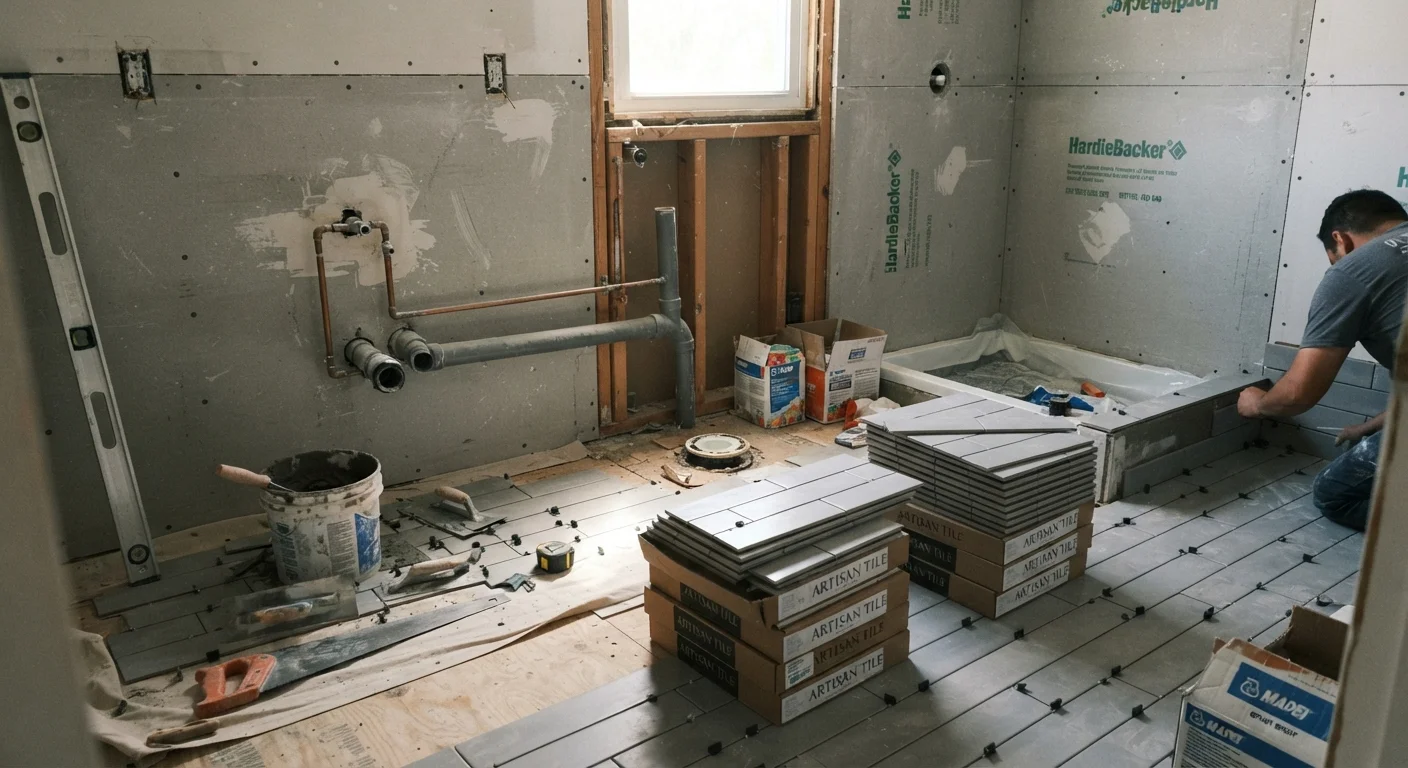
Tile Floors and Walls
Once the waterproofing membrane has fully cured, tiling can begin. Start with the floor, working from the centre outward, then move to walls. Allow adhesive and grout to cure fully before applying grout sealer. Avoid walking on freshly laid floors or leaning items against freshly tiled walls.
Paint Walls and Ceilings
With tiles complete and cured, paint walls and ceilings using a moisture-resistant paint formulated for bathrooms. Paint before fixtures are fitted to allow clean access to all surfaces. Mask tile edges carefully to maintain clean grout lines.
Second-Fix Plumbing and Electrics
Your plumber connects sanitaryware, taps, and shower valves to the rough-in pipework. Your electrician fits light fixtures, fan units, heated towel rail connections, and socket faceplates. These are the final trade visits before fixtures are installed — coordinate them carefully to avoid one trade working around the other.
Install Fixtures and Fittings
With all surfaces finished and services connected, install the toilet, vanity unit, mirrors, shower screens, bath panels, and accessories such as towel bars and toilet roll holders. This is the final stage — everything installed here sits on top of completed surfaces, which is why it must come last.
Build a Simple Trade Schedule
Write out each stage with estimated durations and the minimum gap needed before the next trade can begin — for example, waterproofing may need 24–48 hours to cure before tiling. Sharing this schedule with each tradesperson helps everyone plan around each other and reduces delays caused by surfaces not being ready.
If you're managing multiple tradespeople, coordinate their schedules in advance so each stage is ready for the next. Gaps between trades are normal; gaps caused by poor planning are costly. For guidance on deciding which tasks to tackle yourself and which to hand to a professional, see our DIY vs. hiring a tradesperson guide.
Common Sequencing Mistakes to Avoid
Even well-intentioned renovators fall into predictable traps. The most common is tiling before the waterproof membrane has fully cured — tiles may appear fine initially but can lift or allow moisture ingress over time. Another frequent error is fitting vanity units or toilets before painting, which makes wall access difficult and risks damaging new fixtures with paint splatter.
Installing flooring — whether tile, vinyl, or another material — before the toilet flange height is confirmed is also a recurring problem. If the floor rises higher than planned, the toilet may not seal correctly at the base. And painting or finishing walls before all electrical faceplates and switch positions are confirmed leads to unnecessary patching.
Don't Rush the Waterproofing Cure Time
One of the most common causes of long-term bathroom failure is tiling over a waterproofing membrane before it has fully cured. The surface may look dry, but the membrane may not have reached its full bonded strength. Always follow the product manufacturer's cure time — typically 24 to 48 hours for most tanking systems, longer in cooler or humid conditions.
If you're living in the property during the work, sequencing becomes even more important for managing disruption. Our article on managing a renovation while living in the property offers practical strategies for staying comfortable while work progresses.